| Setting up UniTime on Windows | |
| UniTime Version: 4.8 | |
Download JDK 21 from hhttps://www.oracle.com/java/technologies/downloads (a file named like jdk-21_windows-x64_bin.exe), start it up and follow the installation instructions.
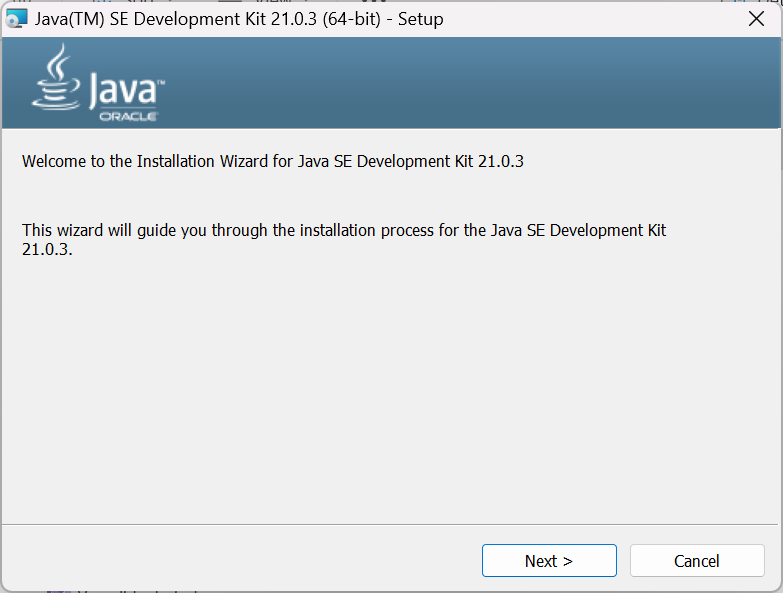
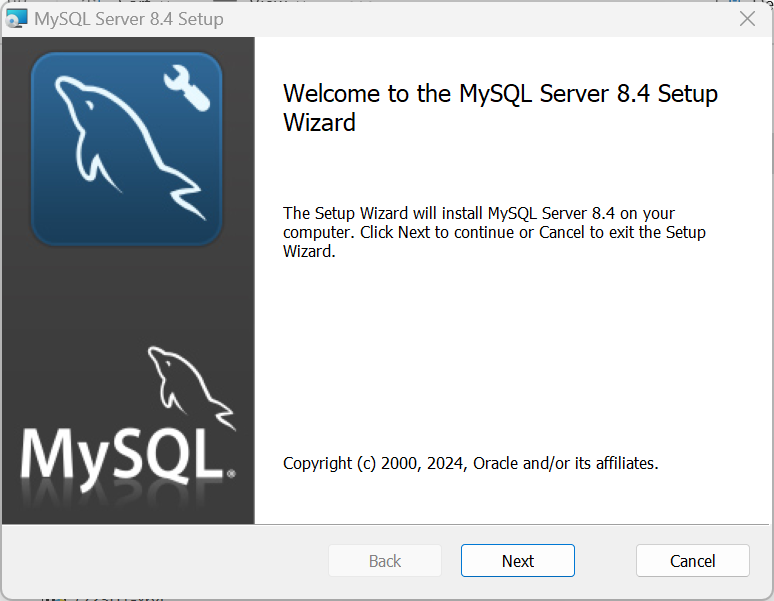
Hit Next
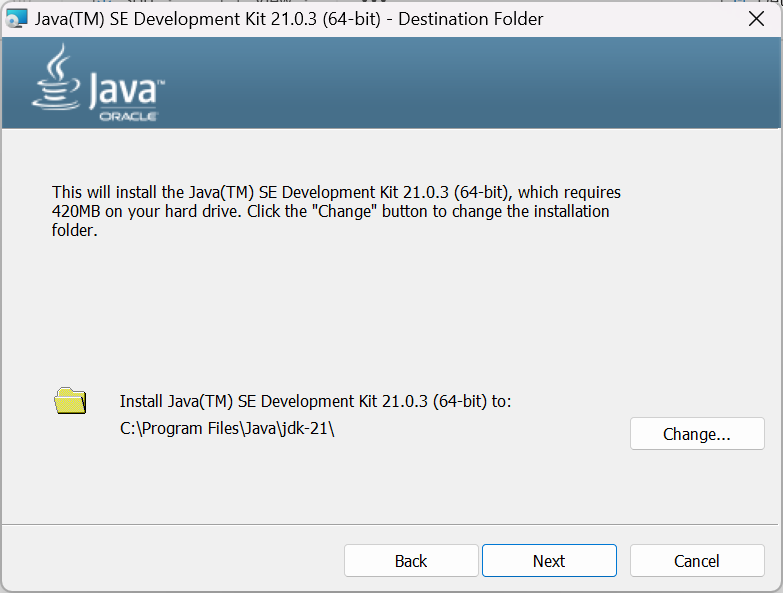
Leave as it is, hit Next
Wait for the installation to finish…
Hit Close
Download MySQL Community Server from https://dev.mysql.com/downloads/mysql (a file named like mysql-8.4.0-winx64.msi), start it up and follow the installation instructions.
Click Next
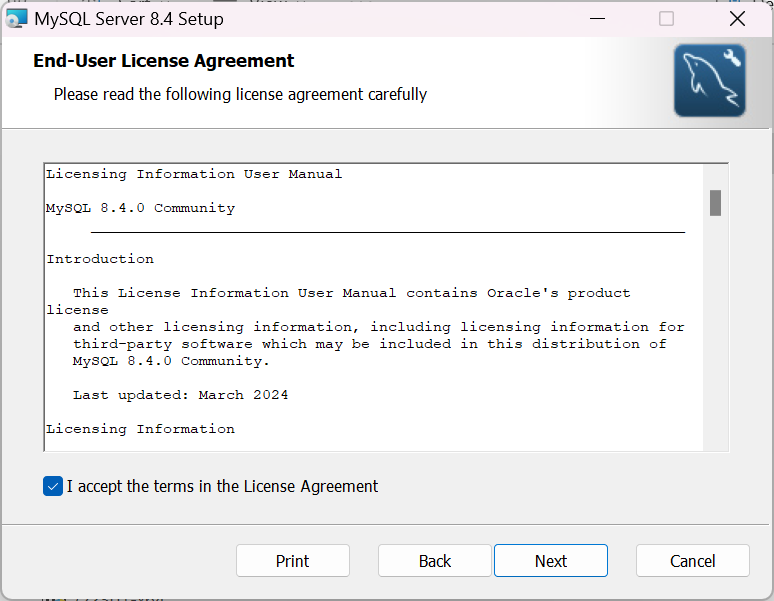
Accept license terms, click Next
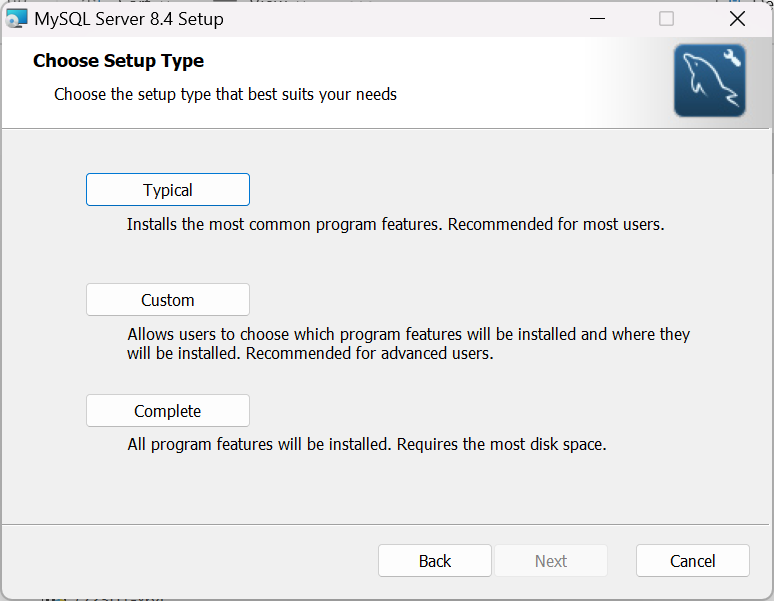
Choose Typical
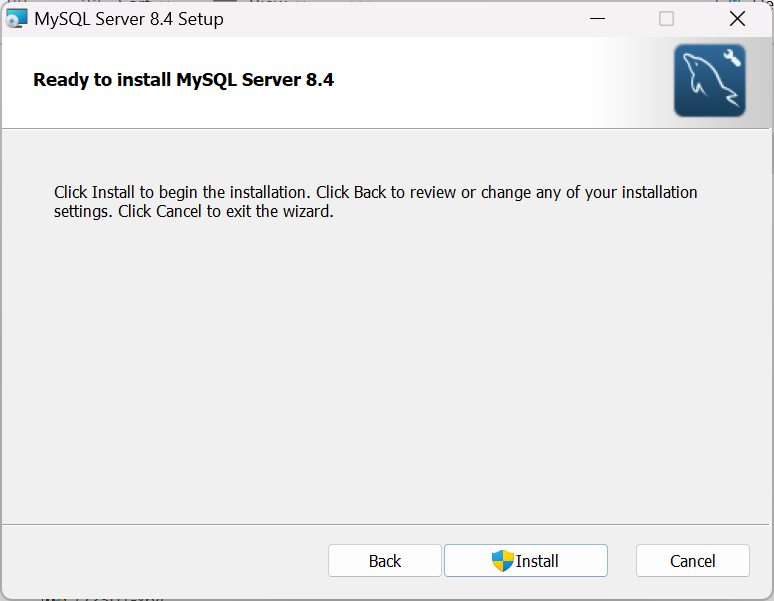
Click Install
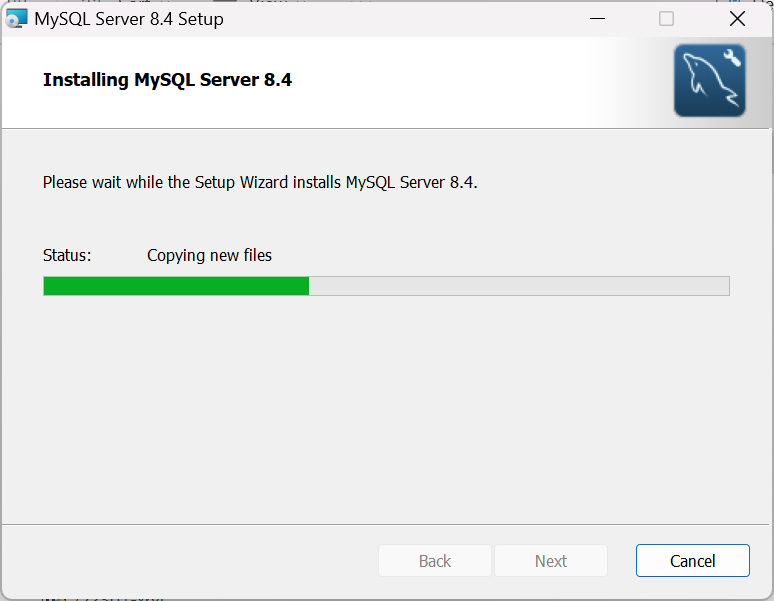
Wait for the installation to finish…
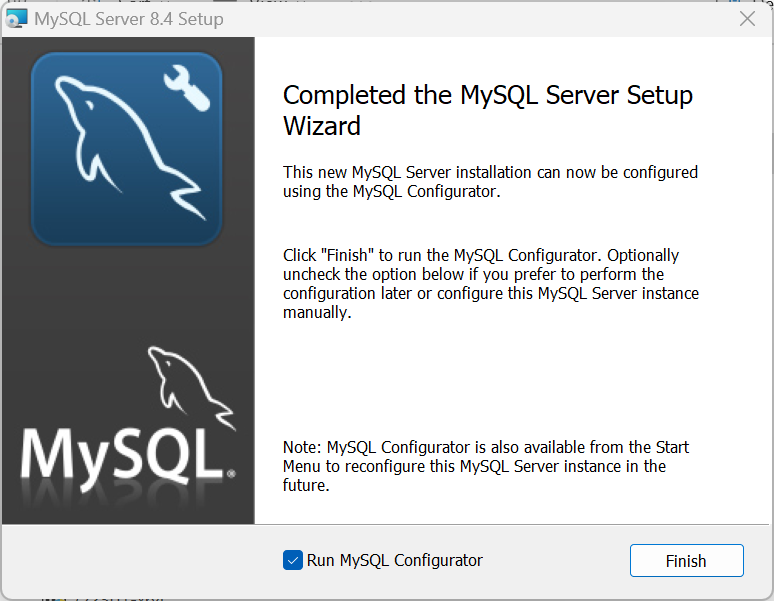
Leave Run MySQL Configurator checked, click Finish
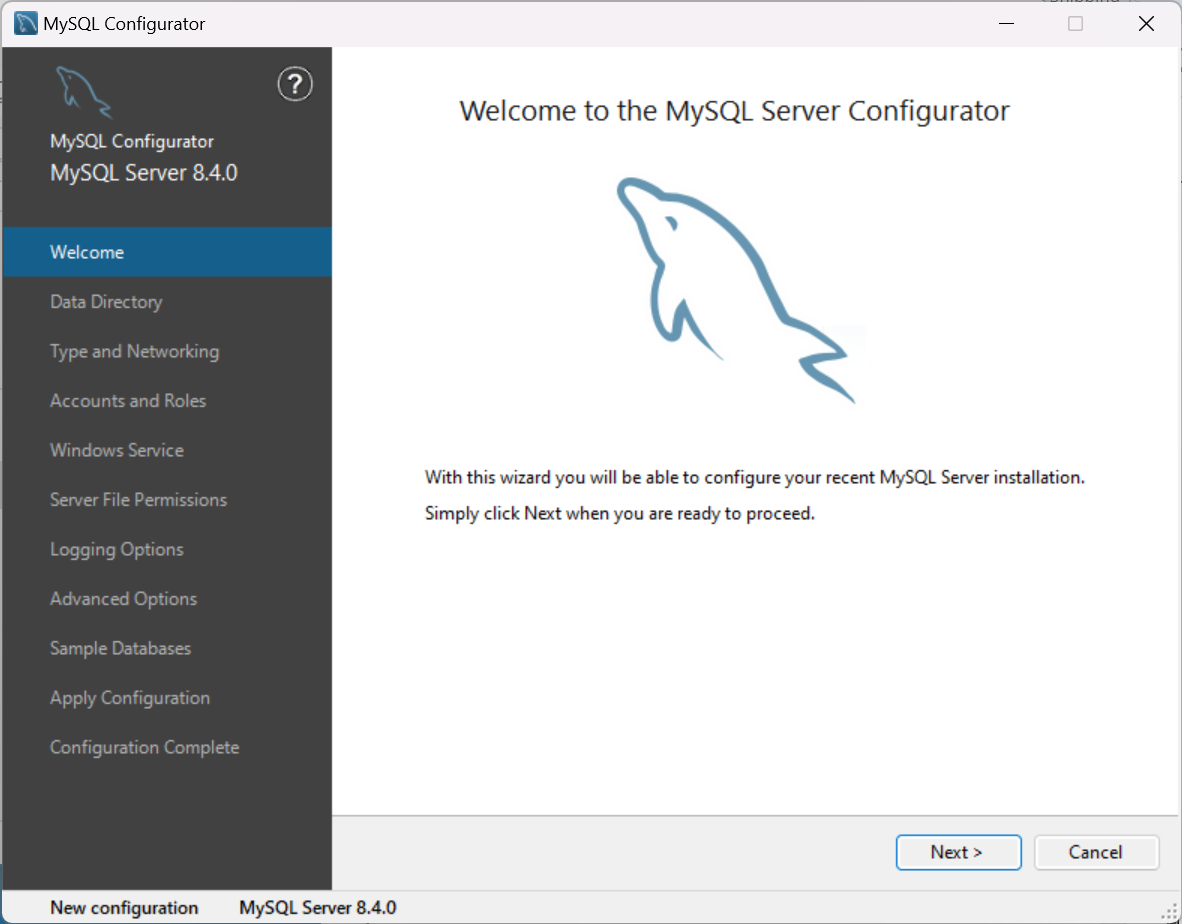
In the MySQL Configurator, click Next
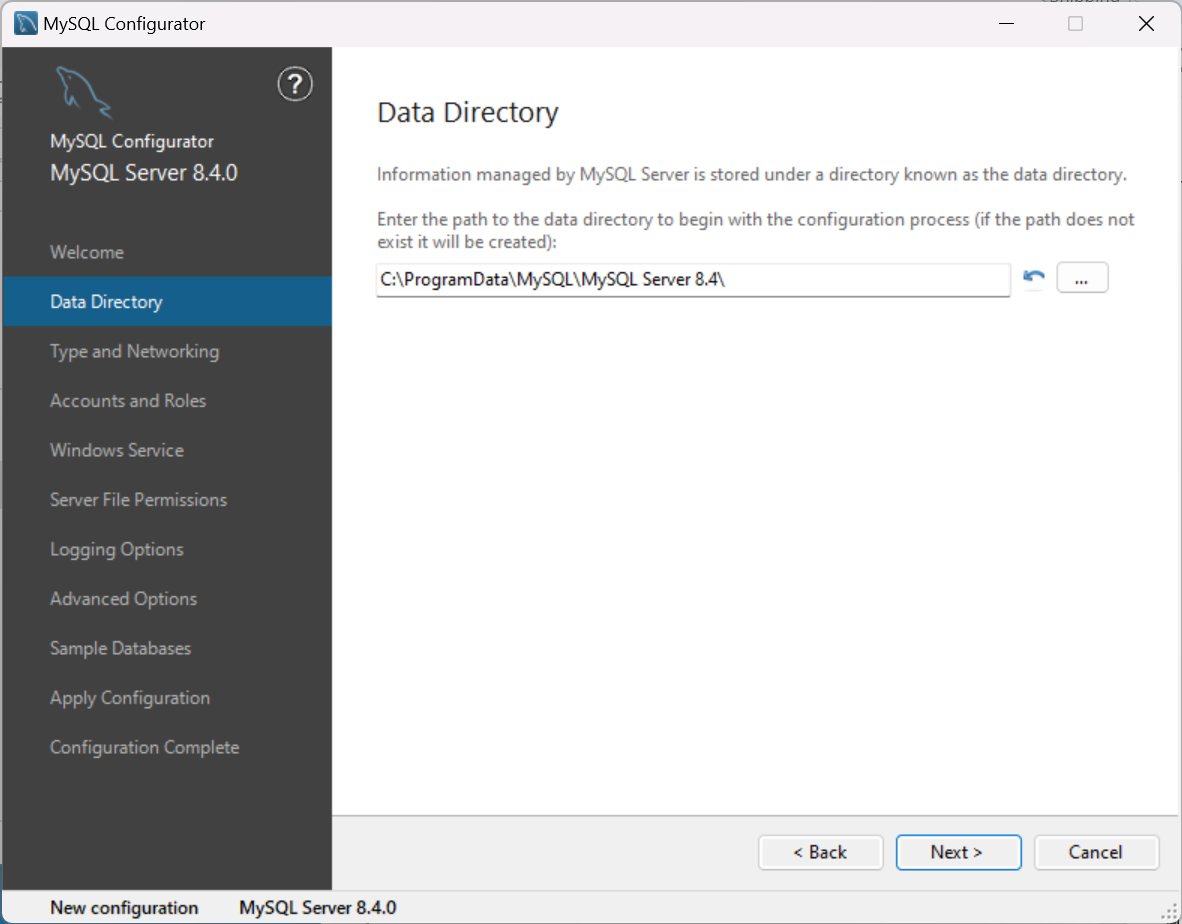
Leave as is, click Next
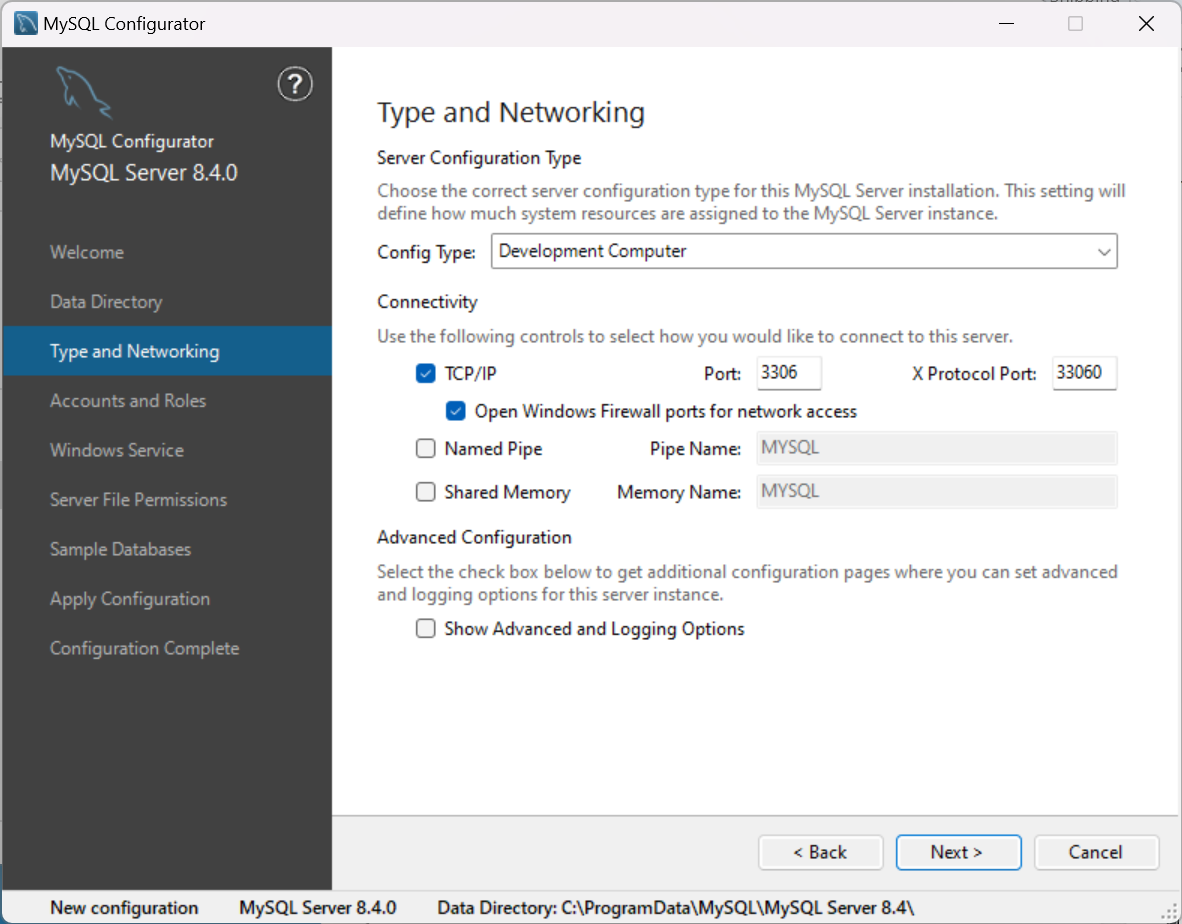
Leave as is, click Next

Fill in a MySQL Root Password (can be different from any other password). Click Next
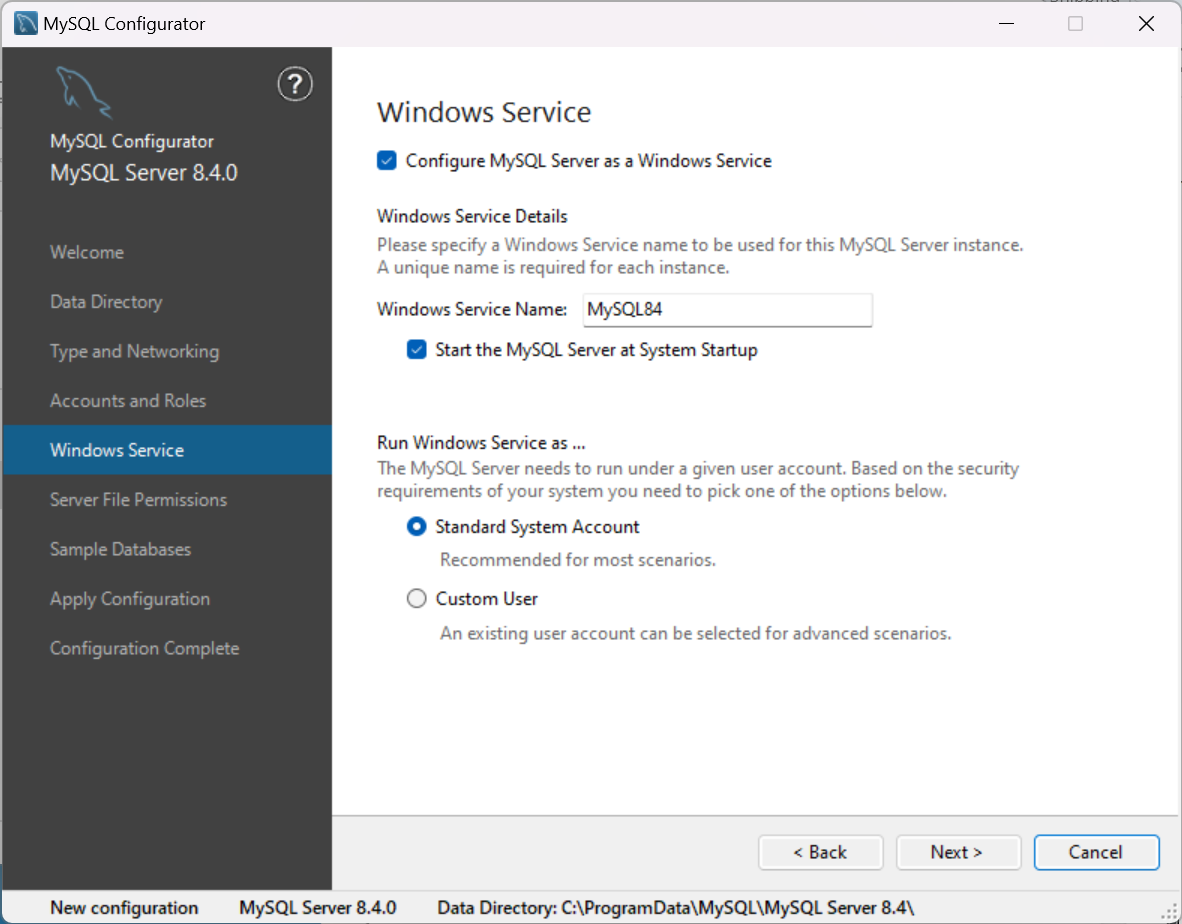
Leave as is, click Next
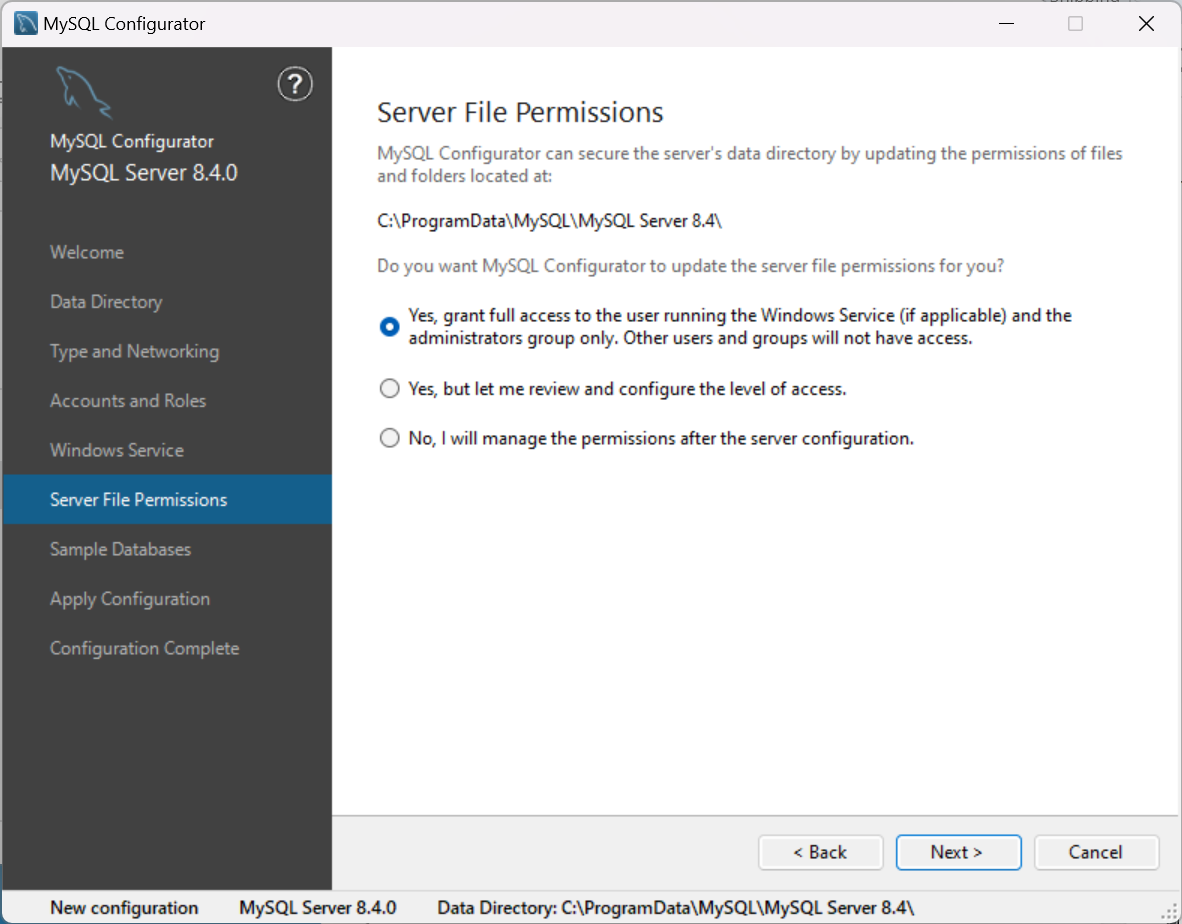
Leave as is, click Next
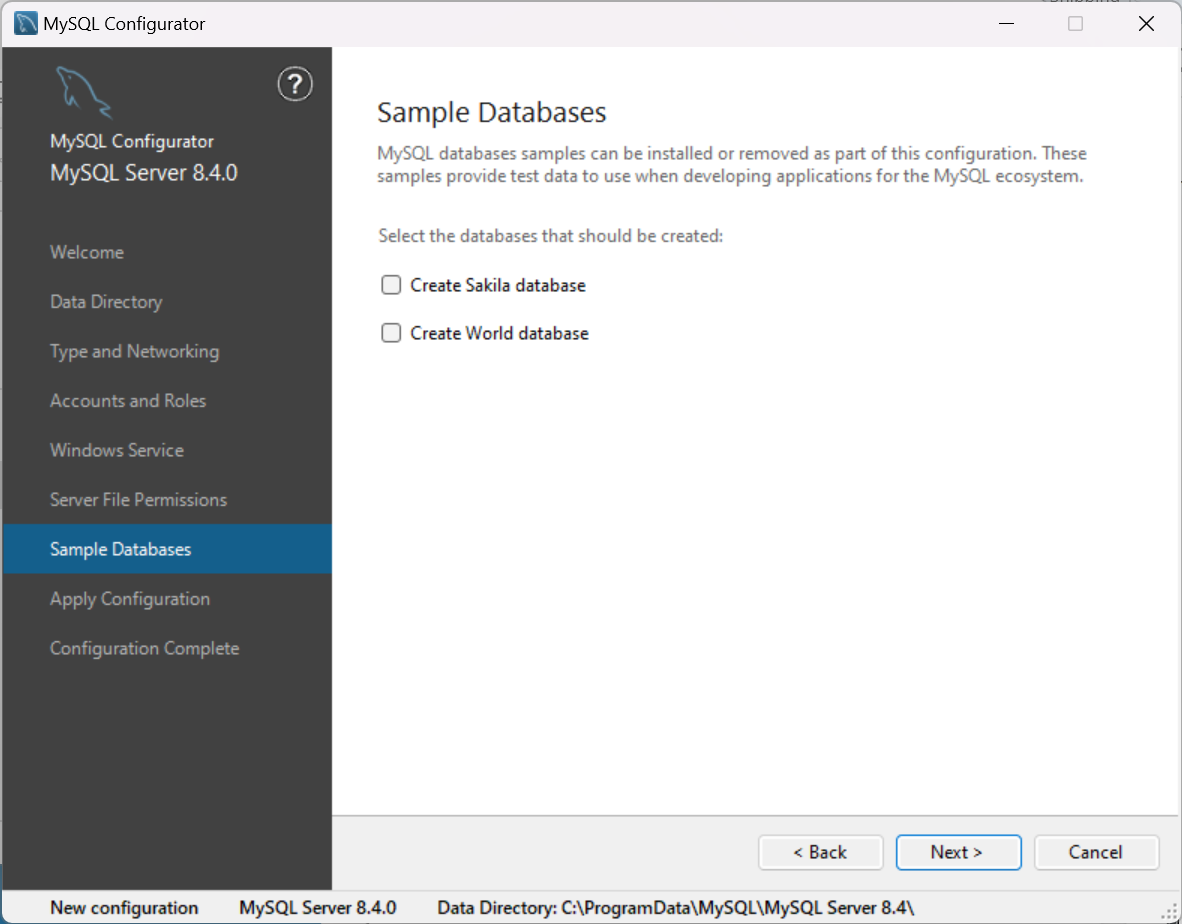
Leave as is, click Next
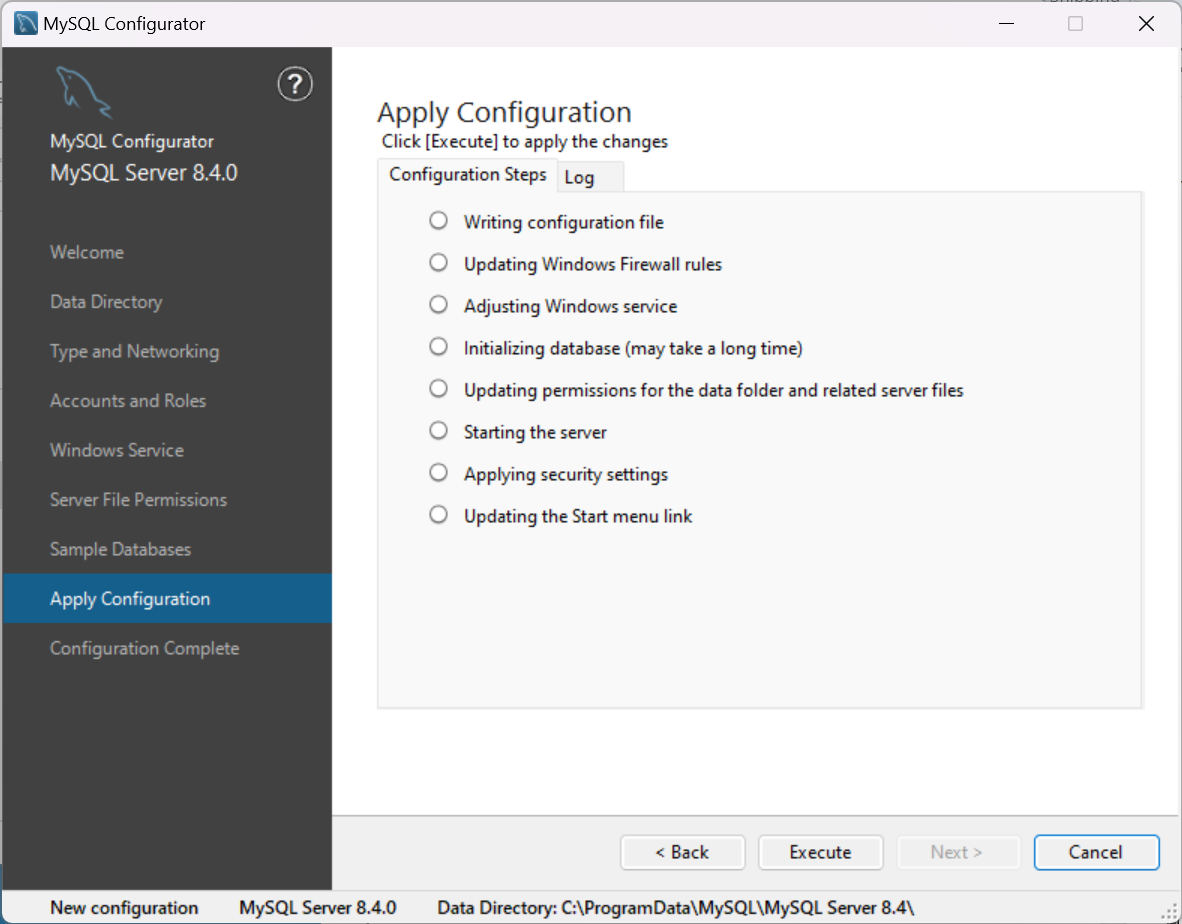
Click Execute

Wait for the installation to finish…
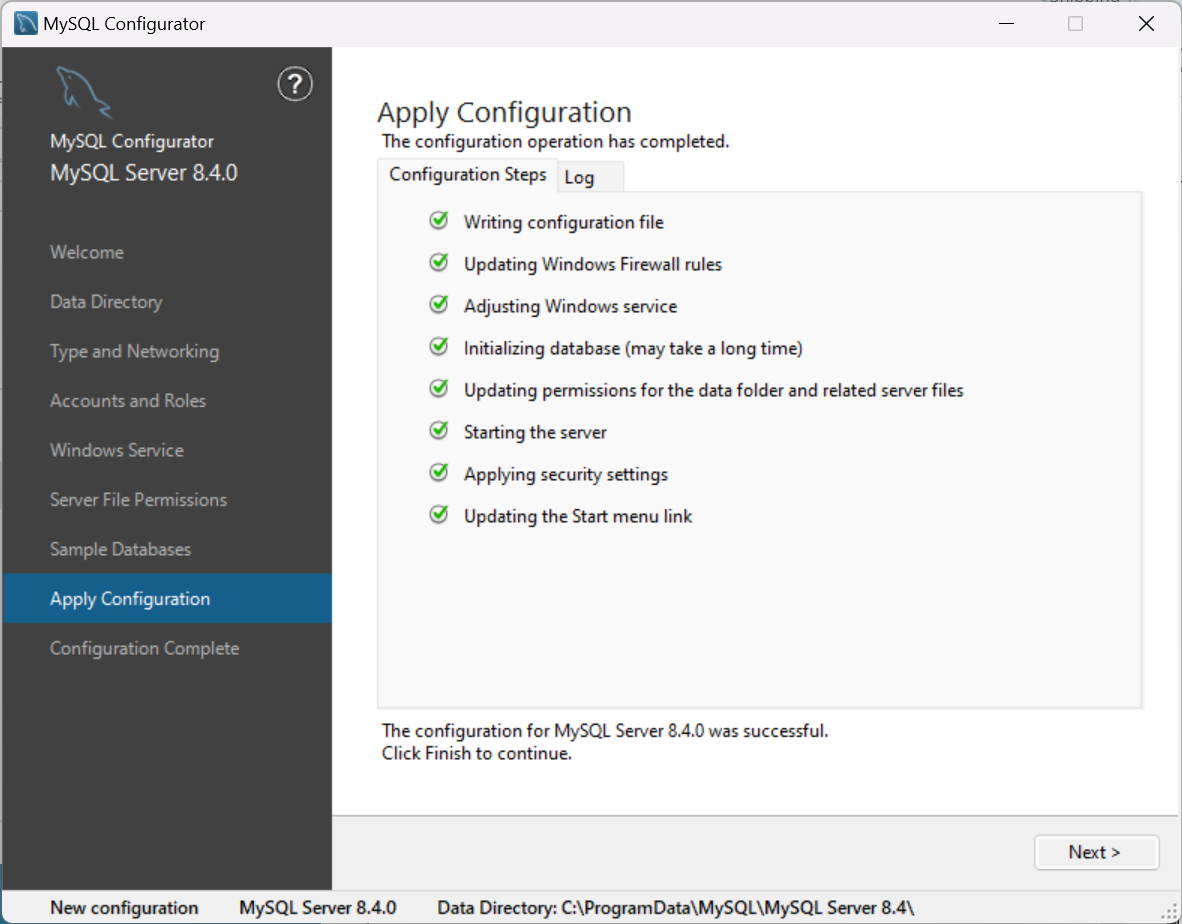
Click Next
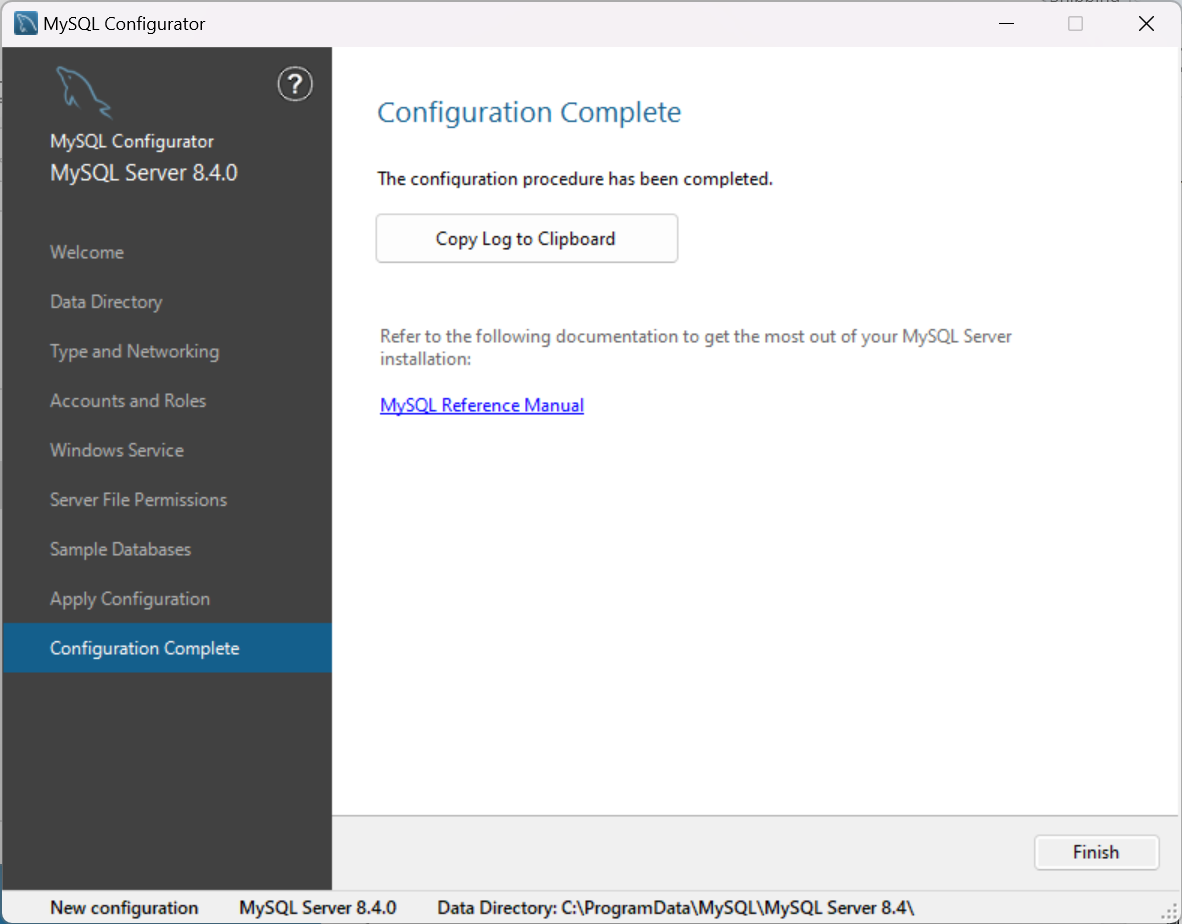
Click Finish
Note: Tomcat 10 or later are currenrtly not supported!
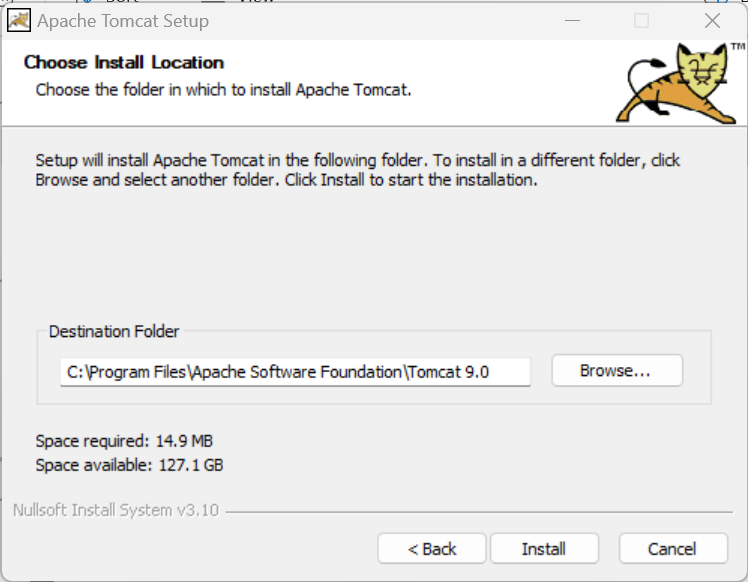
Download Apache Tomcat 9.0 from https://tomcat.apache.org/download-90.cgi (choose the 32-bit/64-bit Windows Service Installer option, a file named like apache-tomcat-9.0.90.exe), start it up and follow the installation instructions.
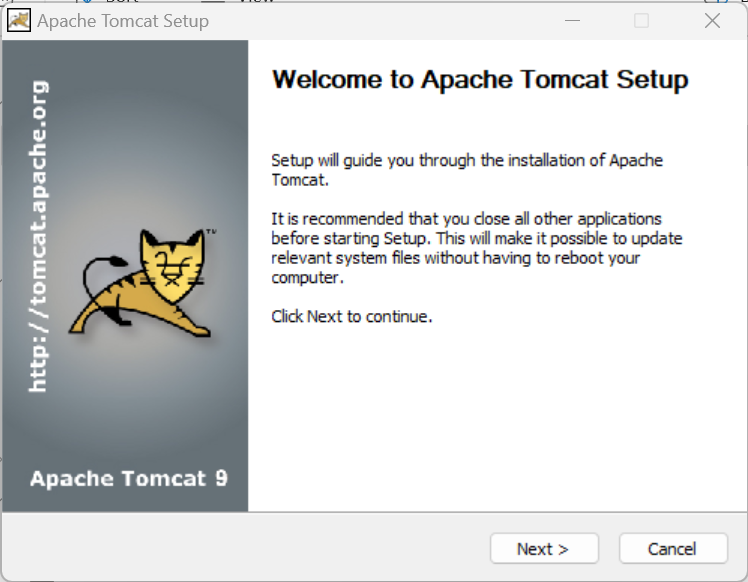
Click Next
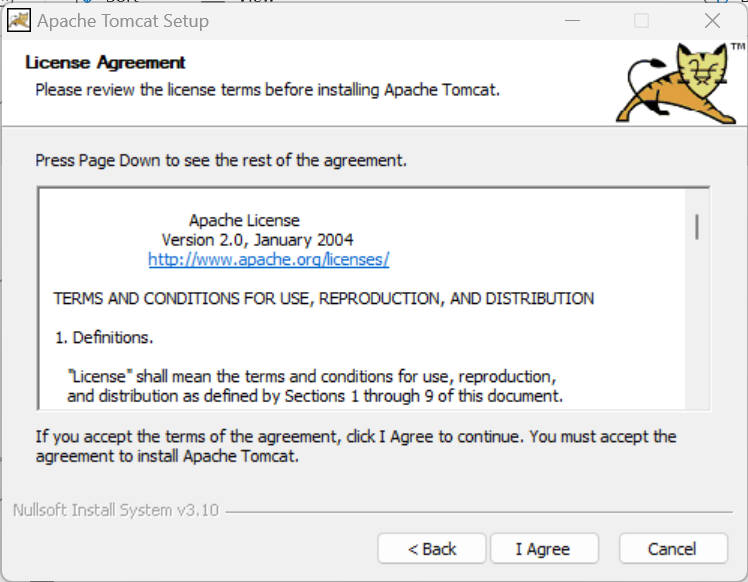
Accept the license by clicking I Agree
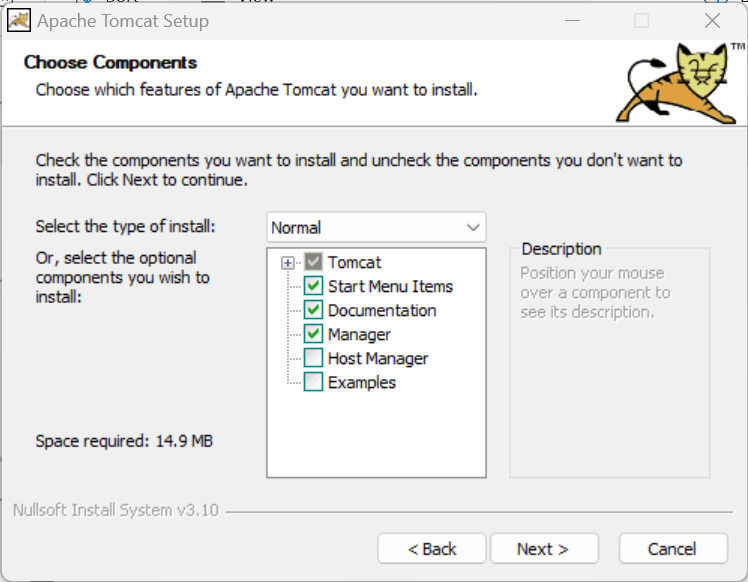
Leave as is, click Next
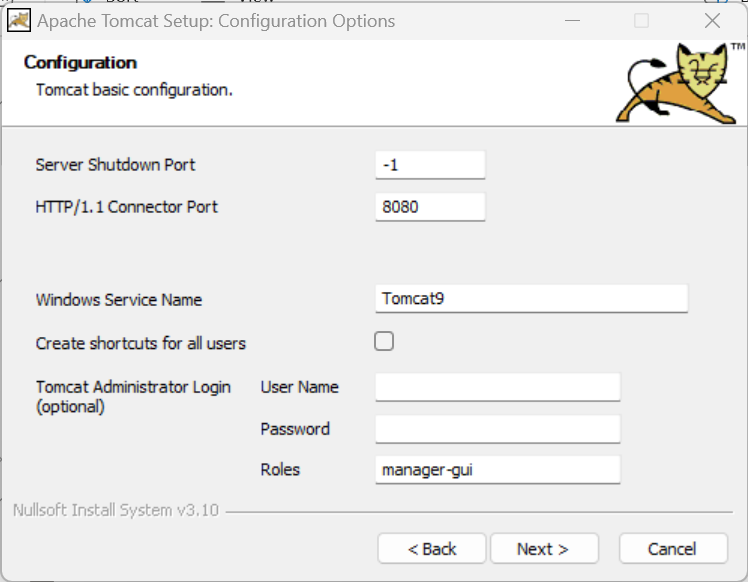
Leave as is, click Next
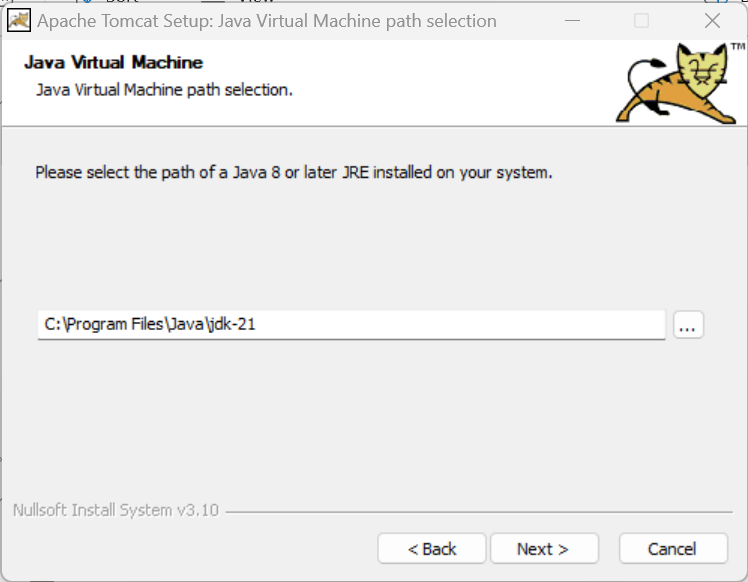
Leave as is, click Next
Leave as is, click Next
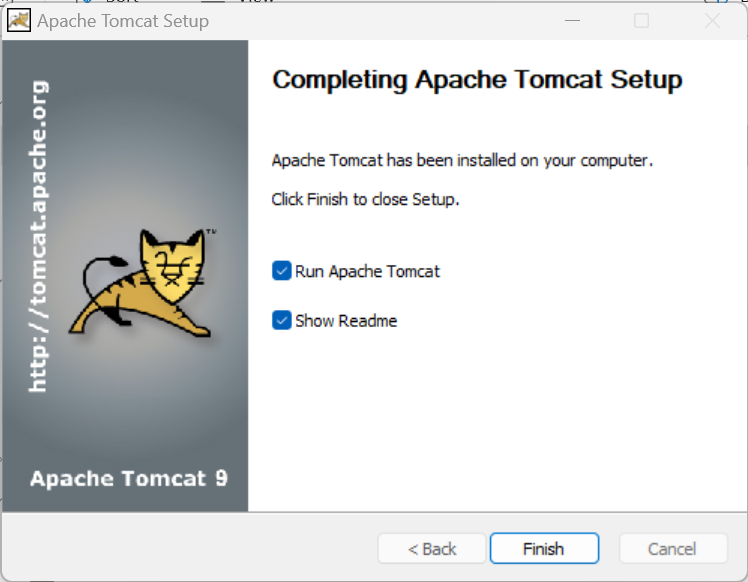
Wait for the installation to finish. Click Finish
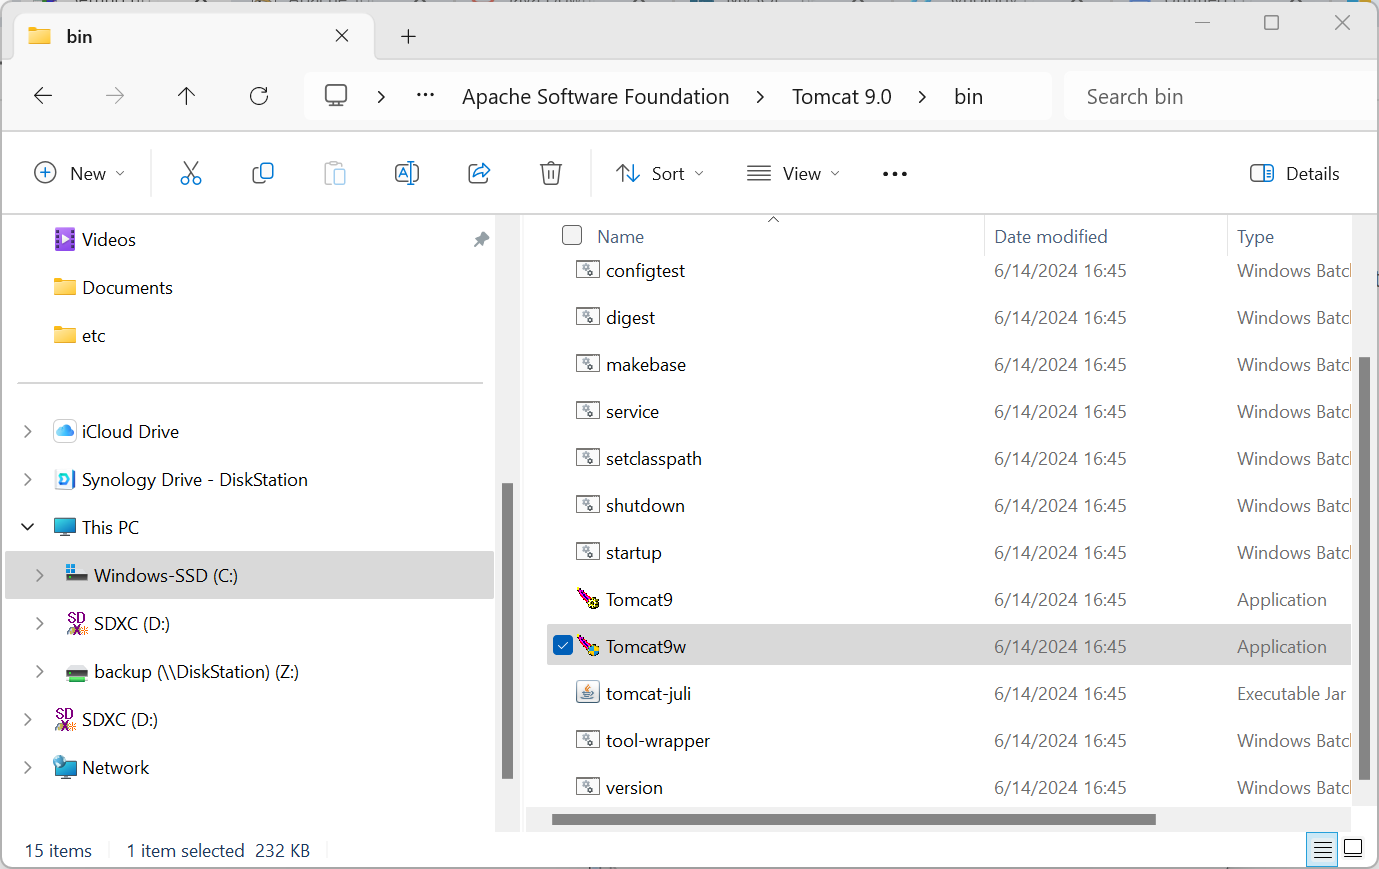
Open Apache Tomcat configuration (Start > All Programs > Apache Tomcat 9.0 > Configure Tomcat). On the Java tab, set the Maximum memory pool to at least 1024 MB. If the menu option does not work, open the File Explorer, navigate to C:\Program Files\Apache Software Foundation\Tomcat 9.0\bin, and open Tomcat9w.
This will open the Apache Tomcat 9.0 Tomcat9 Properties dialog.
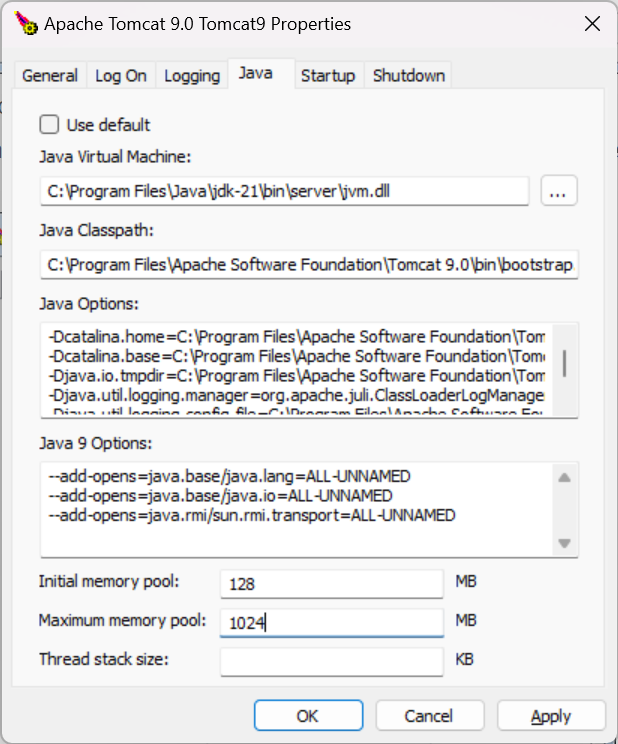
Select Java tab, and change maximum memory pool to at least 1024 MB. Click Apply and OK.
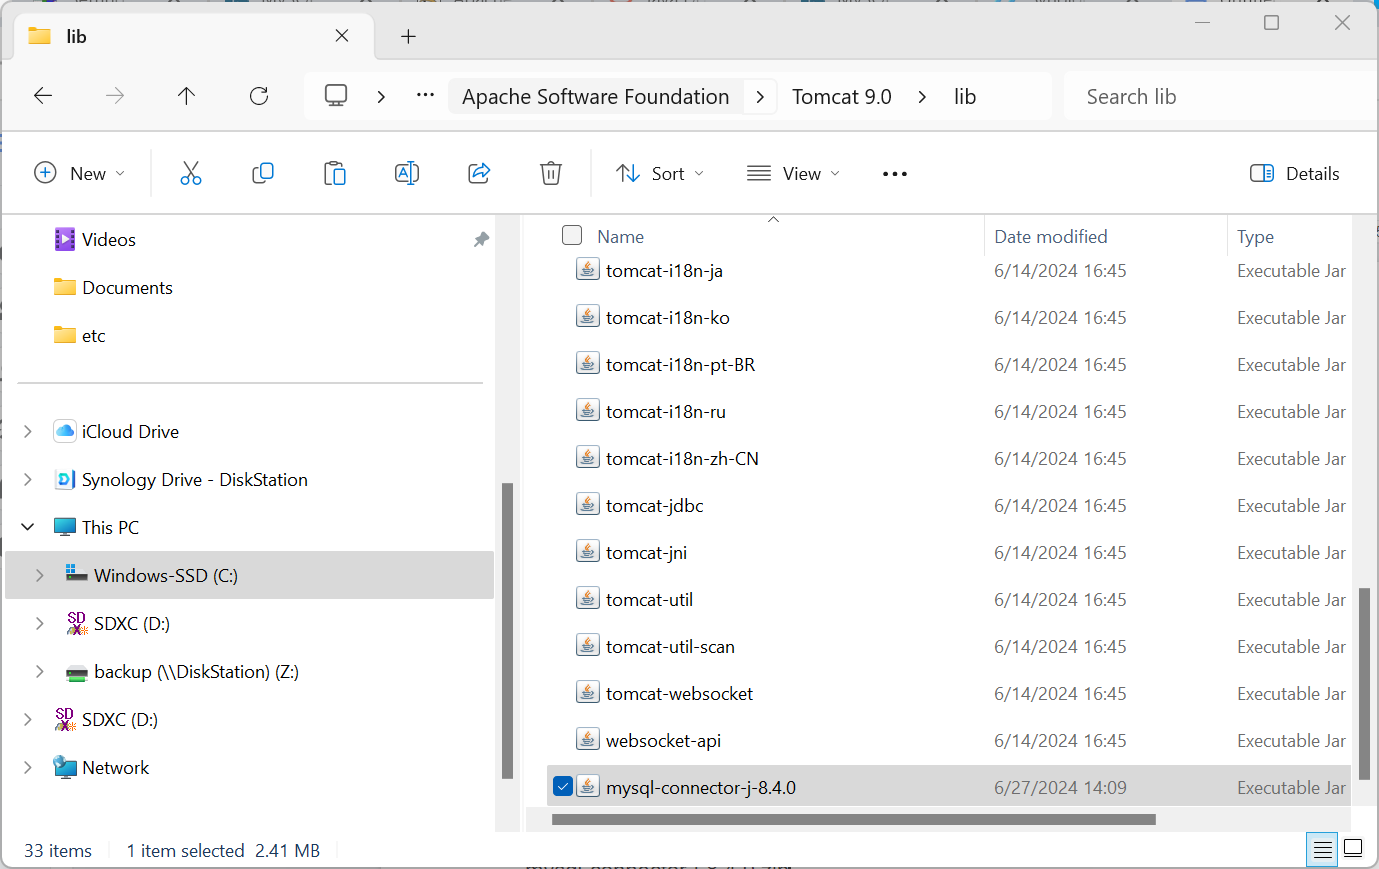
Download MySQL Connector/J driver from https://dev.mysql.com/downloads/connector/j/ (choose Platform Independent ZIP Archive, a file named like mysql-connector-j-8.4.0.zip). Unzip the downloaded file (right-click the downloaded file and choose Extract All…). In Downloads\mysql-connector-j-8.4.0, copy the extracted mysql-connector-j-8.4.0.jar into C:\Program Files\Apache Software Foundation\Tomcat 9.0\lib.
Download UniTime from https://github.com/UniTime/unitime/releases/latest (a file named like unitime-4.8_bld139.zip) and unzip it (right click the downloaded file and choose Extract All..).
Start the command prompt (Start > All Programs > Accessories > Command Prompt), execute:
mysql -u root -p -f <Downloads\unitime4.8_bld139\doc\mysql\schema.sql
mysql -u root -p <Downloads\unitime-4.8_bld139\doc\mysql\woebegon-data.sql
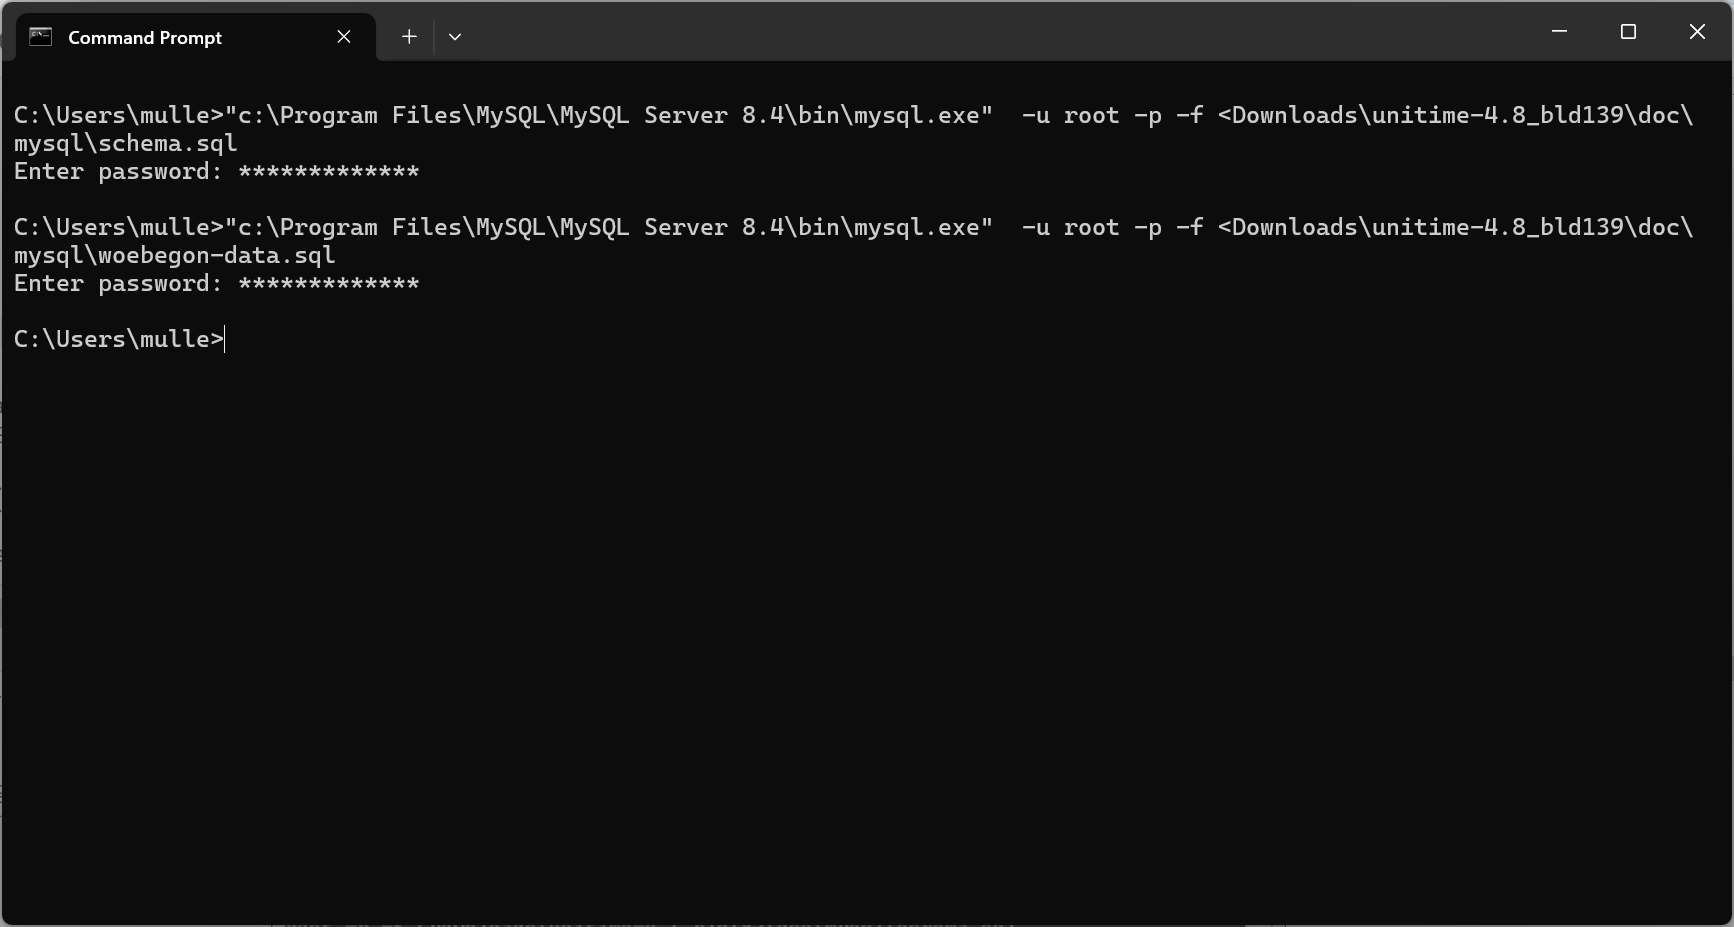
When prompted, use the MySQL root user password as provided in step 2.
If you get “mysql is not recognized as an internal or external command, operable program or batch file.” error, use "c:\Program Files\MySQL\MySQL Server 8.4\bin\mysql.exe" instead as on the above screenshot.
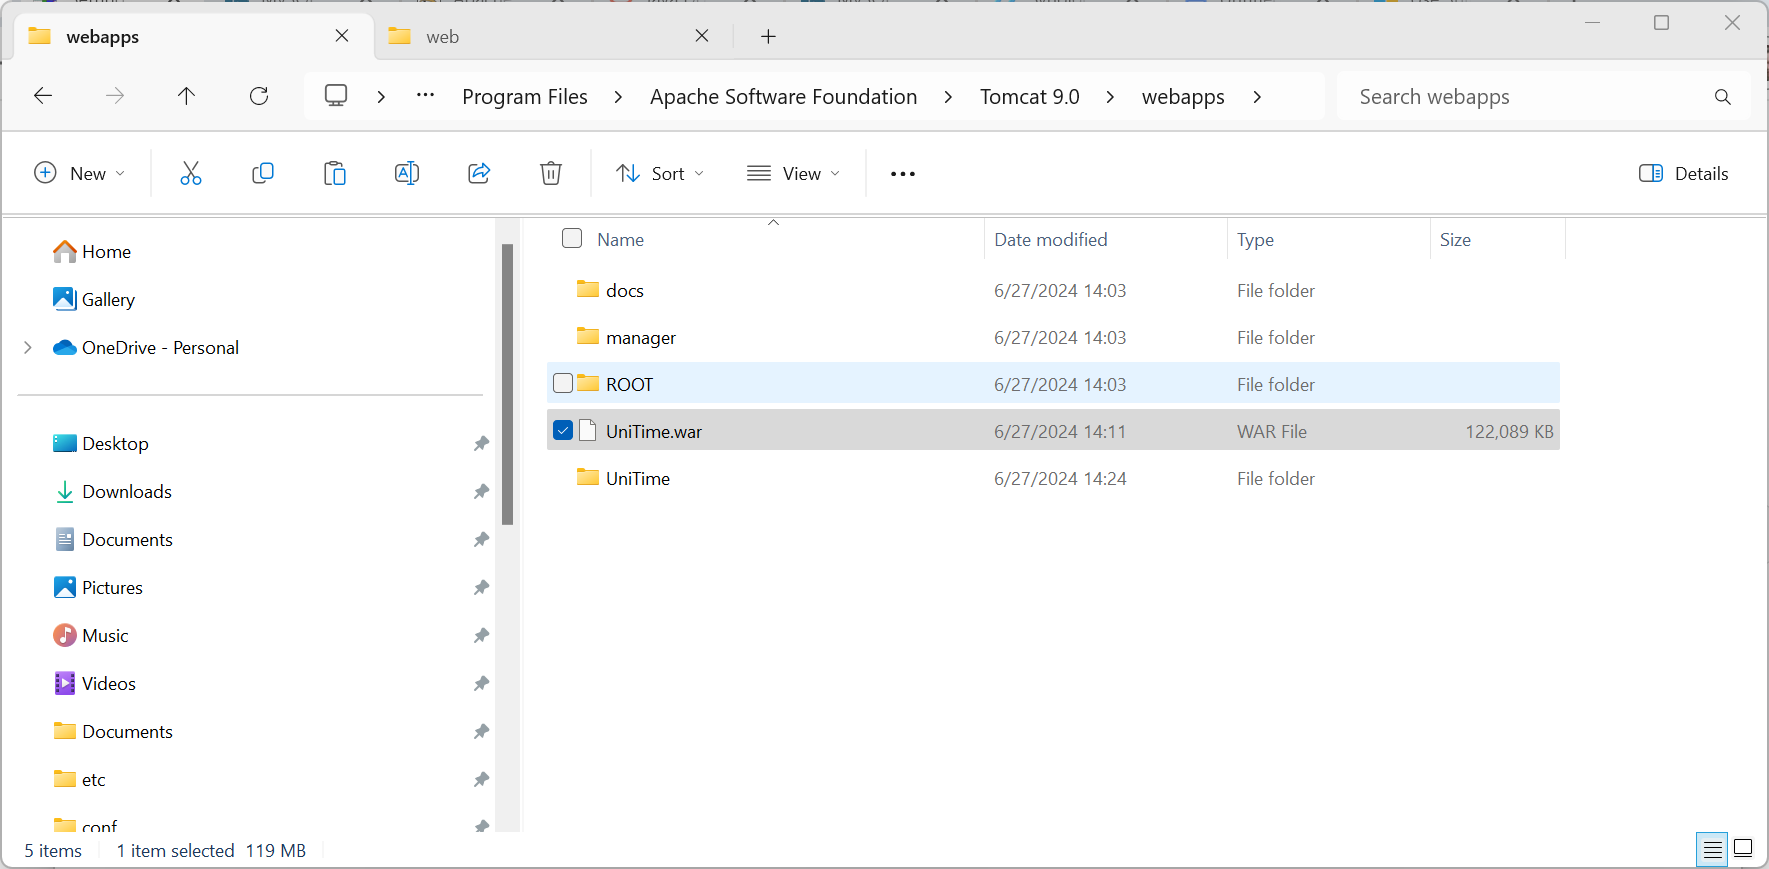
Copy web\UniTime.war from the unzipper UniTime archive to C:\Program Files\Apache Software Foundation\Tomcat 9.0\webapps
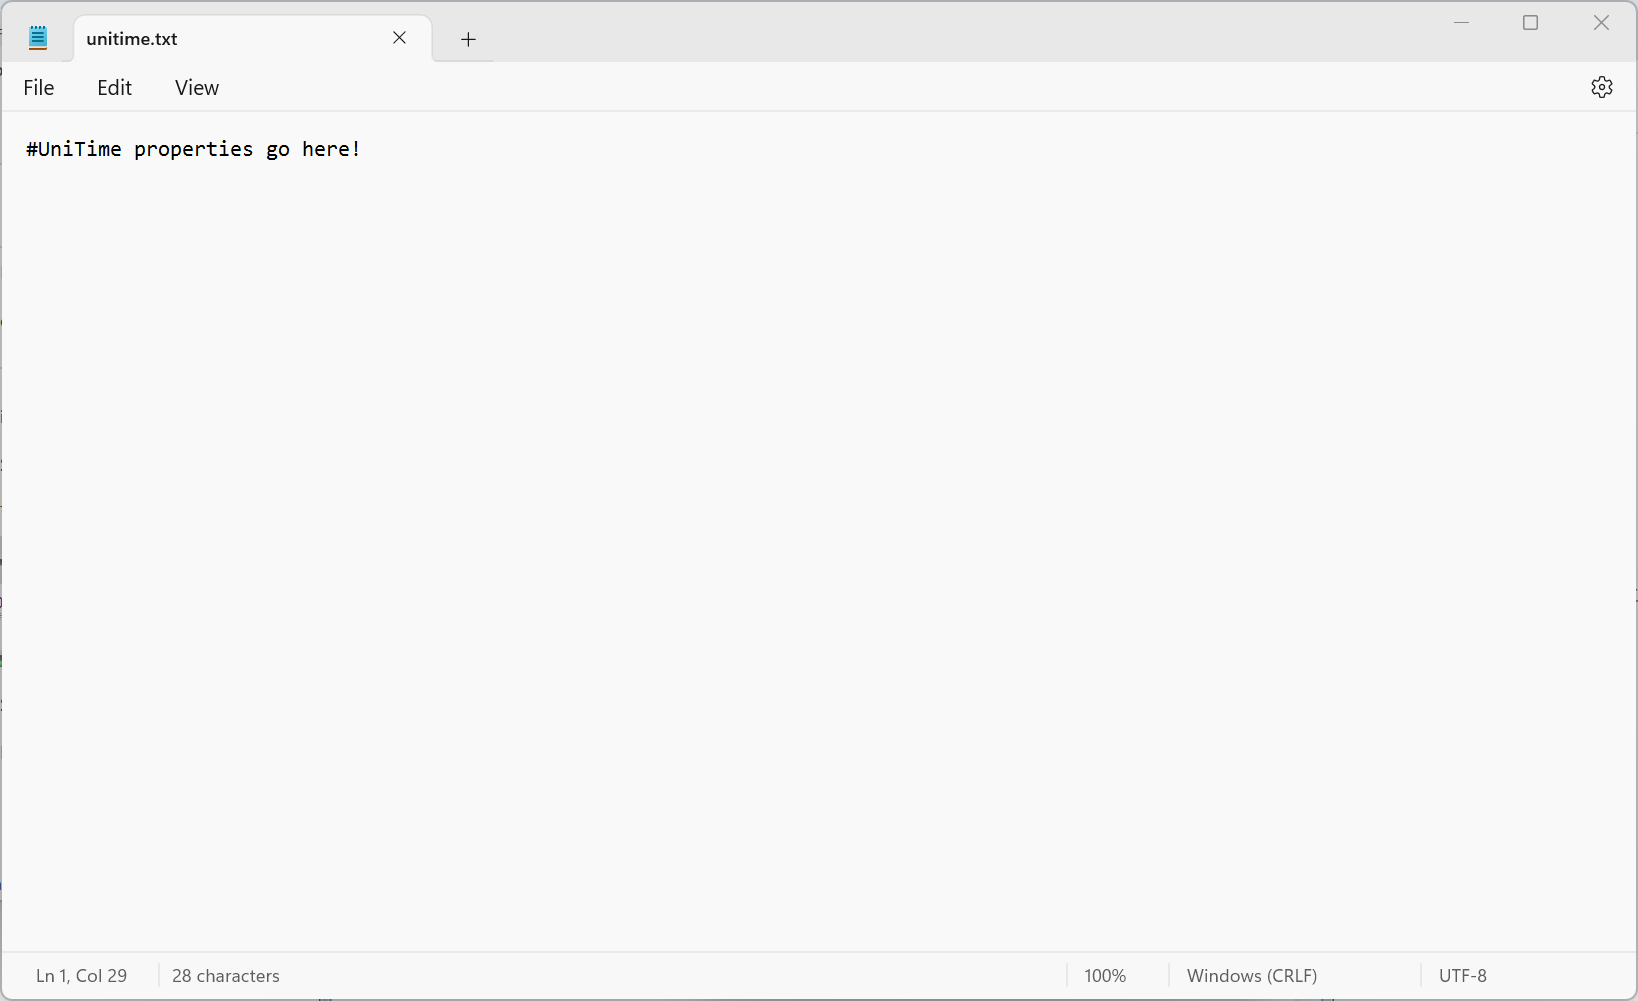
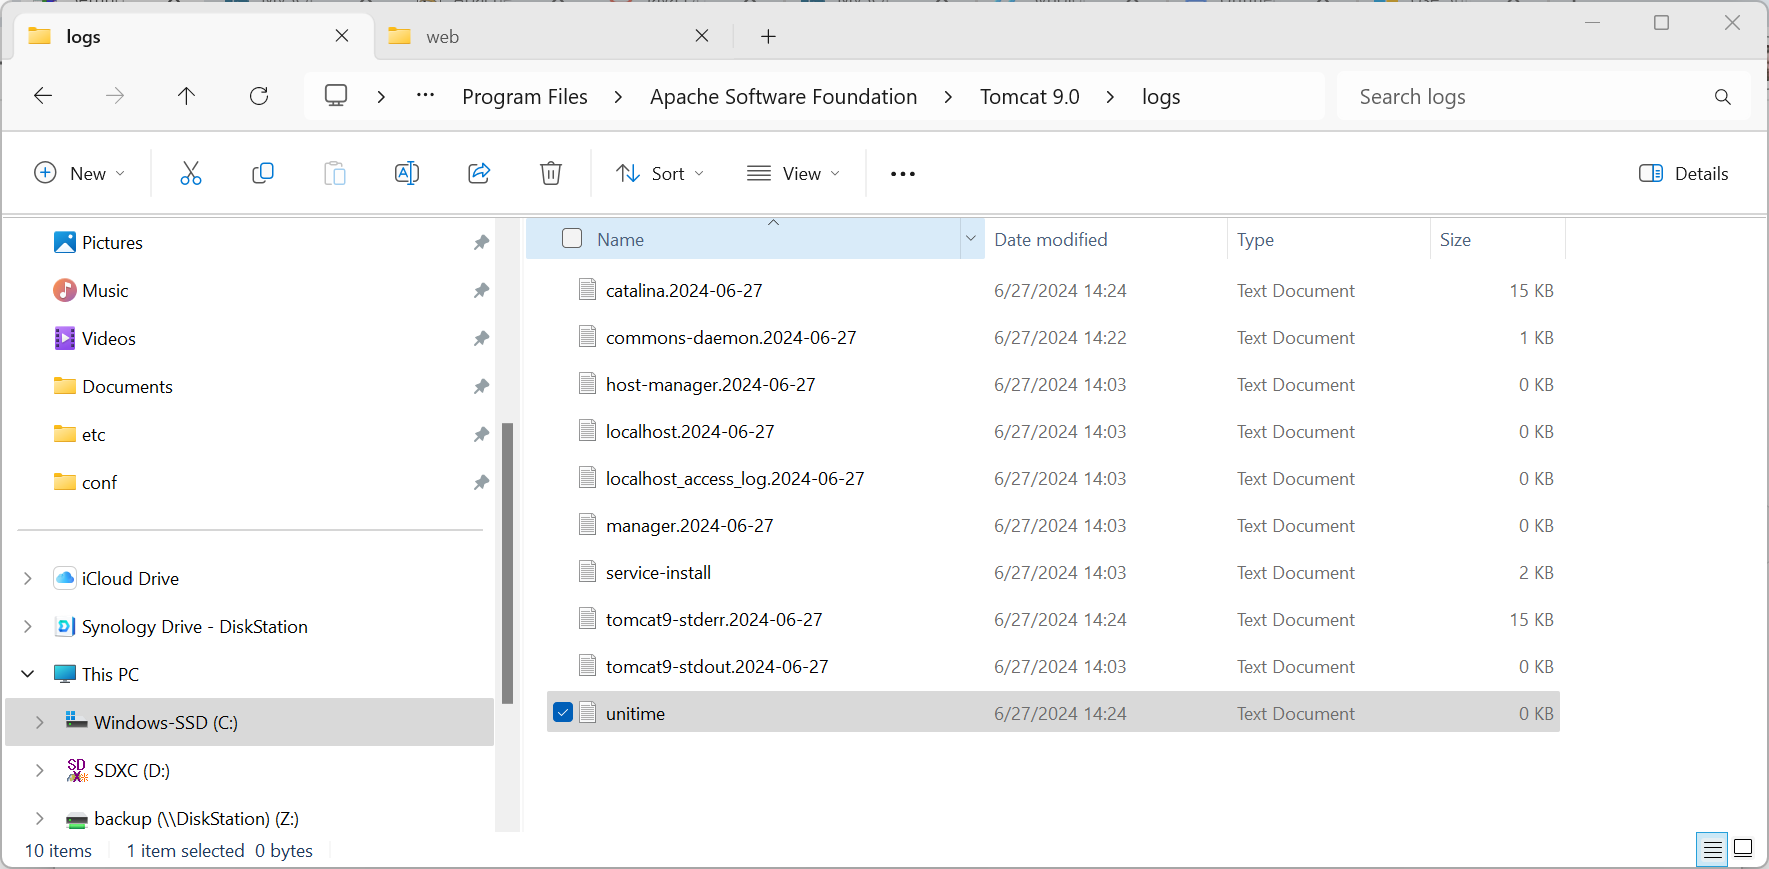
Create C:\Program Files\Apache Software Foundation\Tomcat 9.0\conf\unitime.txt file (e.g., by using + New in the File Explorer and selecting Text Document)
Open catalina.properties in the same folder, add the following line and save it again.
tmtbl.custom.properties=C:\\Program Files\\Apache Software Foundation\\Tomcat 9.0\\conf\\unitime.txt
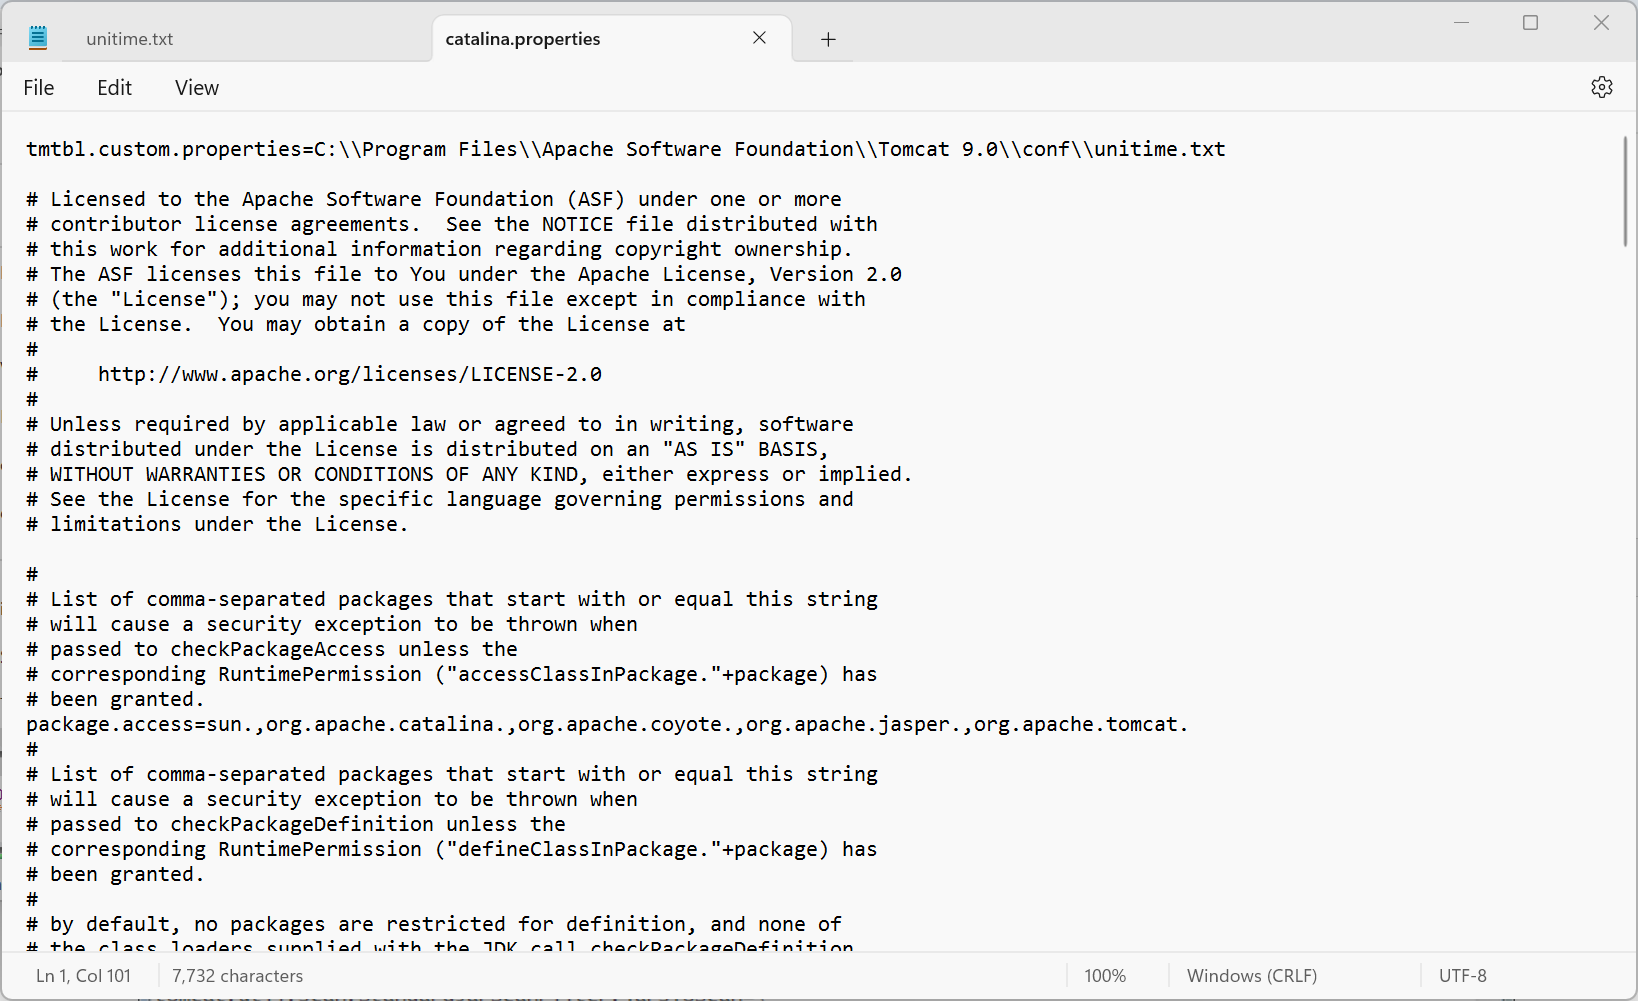
See http://help.unitime.org/installation#customization for more details.
Open Apache Tomcat configuration (Start > All Programs > Apache Tomcat 9.0 > Configure Tomcat).
On the General tab, hit Stop if the tomcat is already running. Once stopped, hit Start (you can change the Startup type to Automatic if you with Apache Tomcat to start automatically after Windows restart).
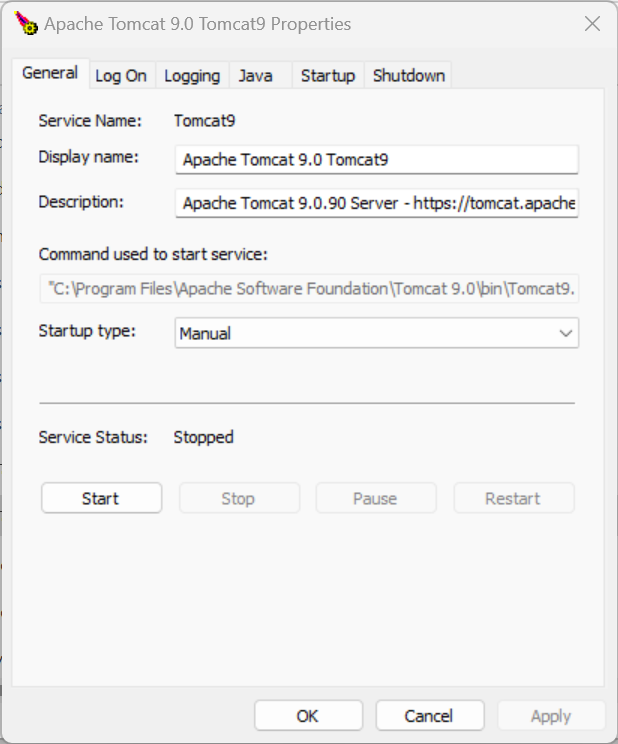
The Tomcat is running (you can stop the Tomcat here as well). Hit OK to close the dialog.
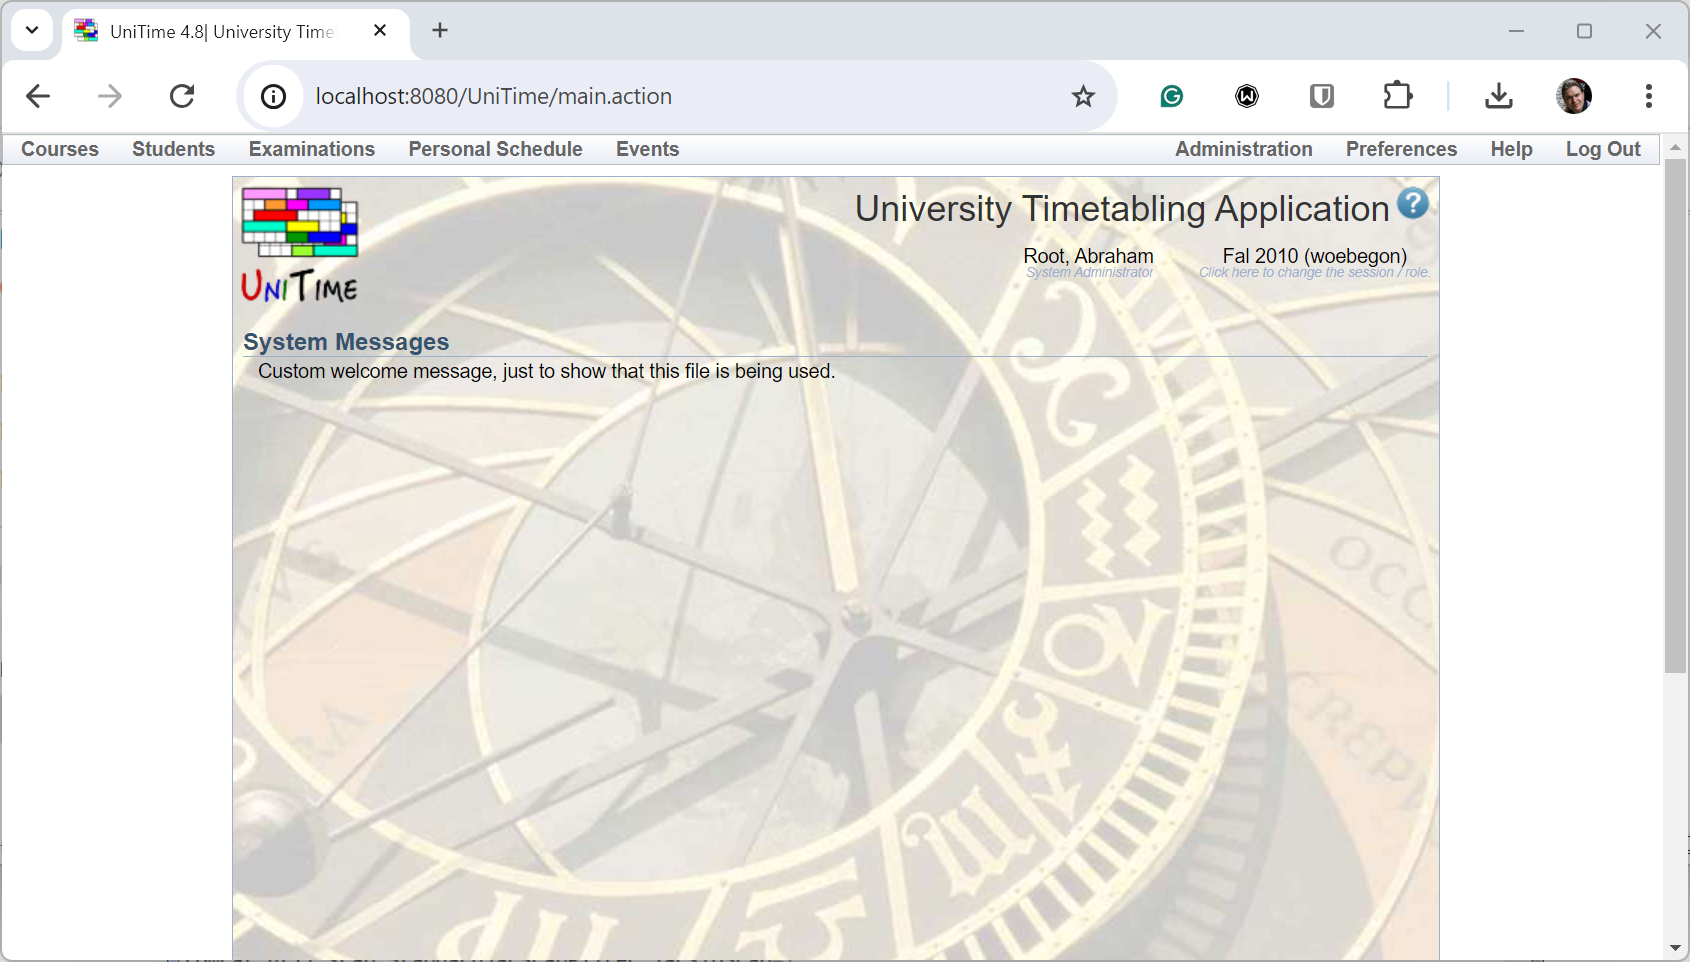
Now, you should be able to open UniTime at http://localhost:8080/UniTime
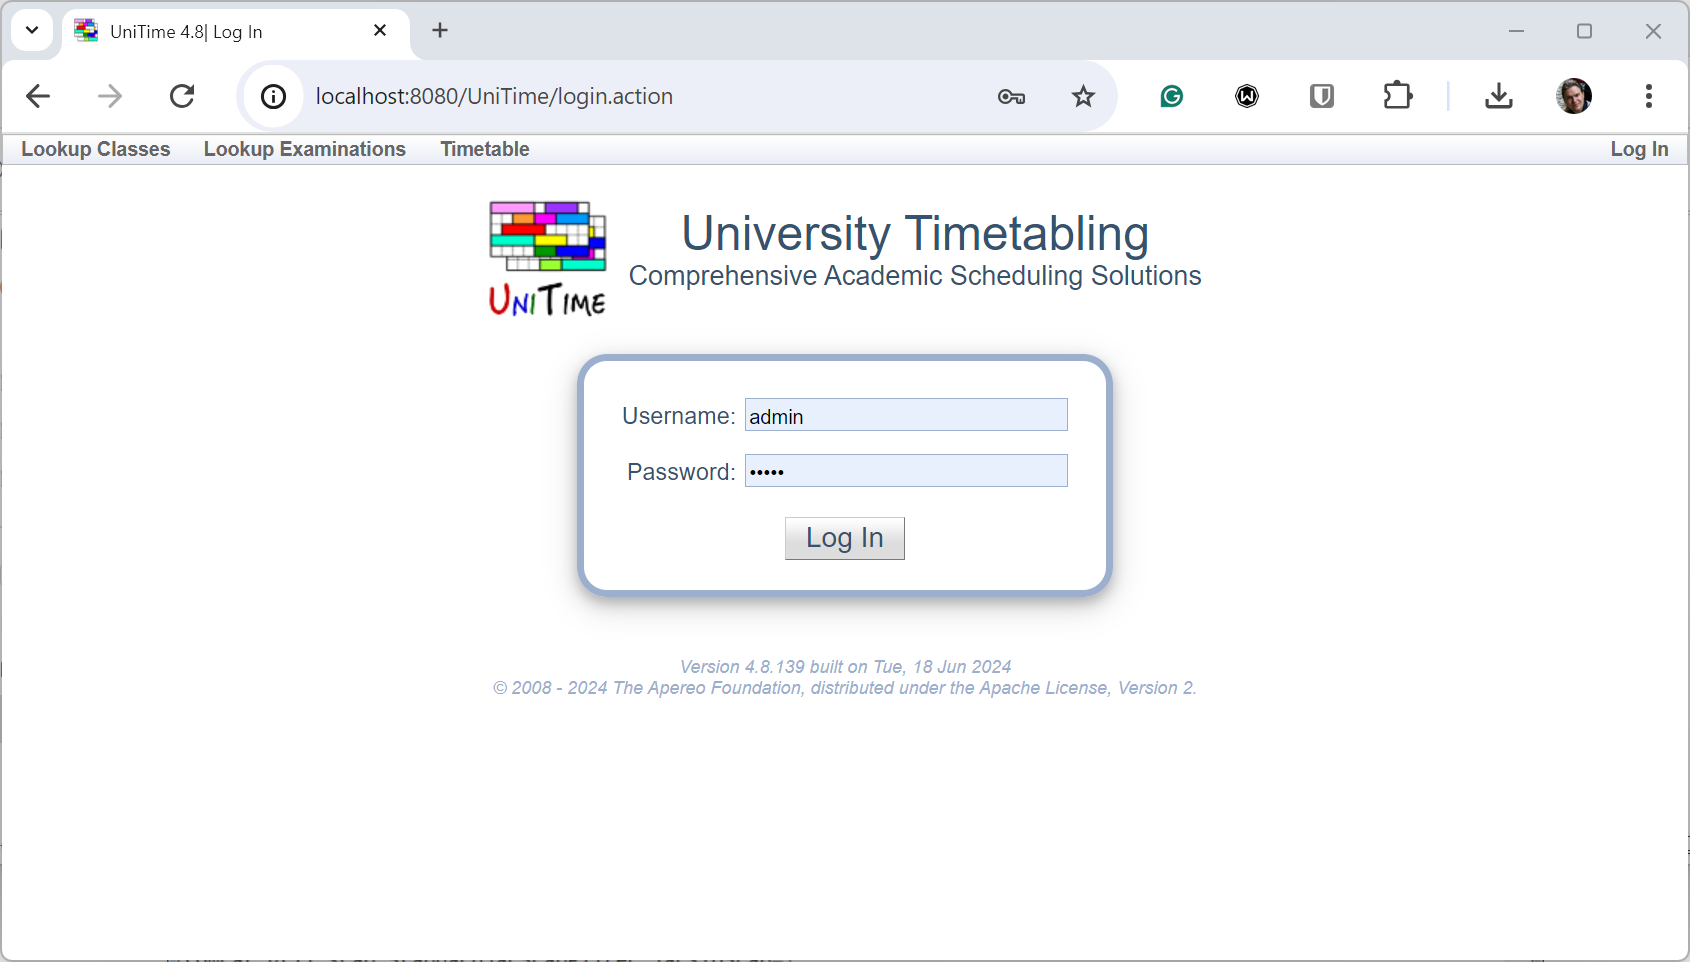
And log in using the admin user (both username and password is admin)
The logs are located at C:\Program Files\Apache Software Foundation\Tomcat 9.0\logs
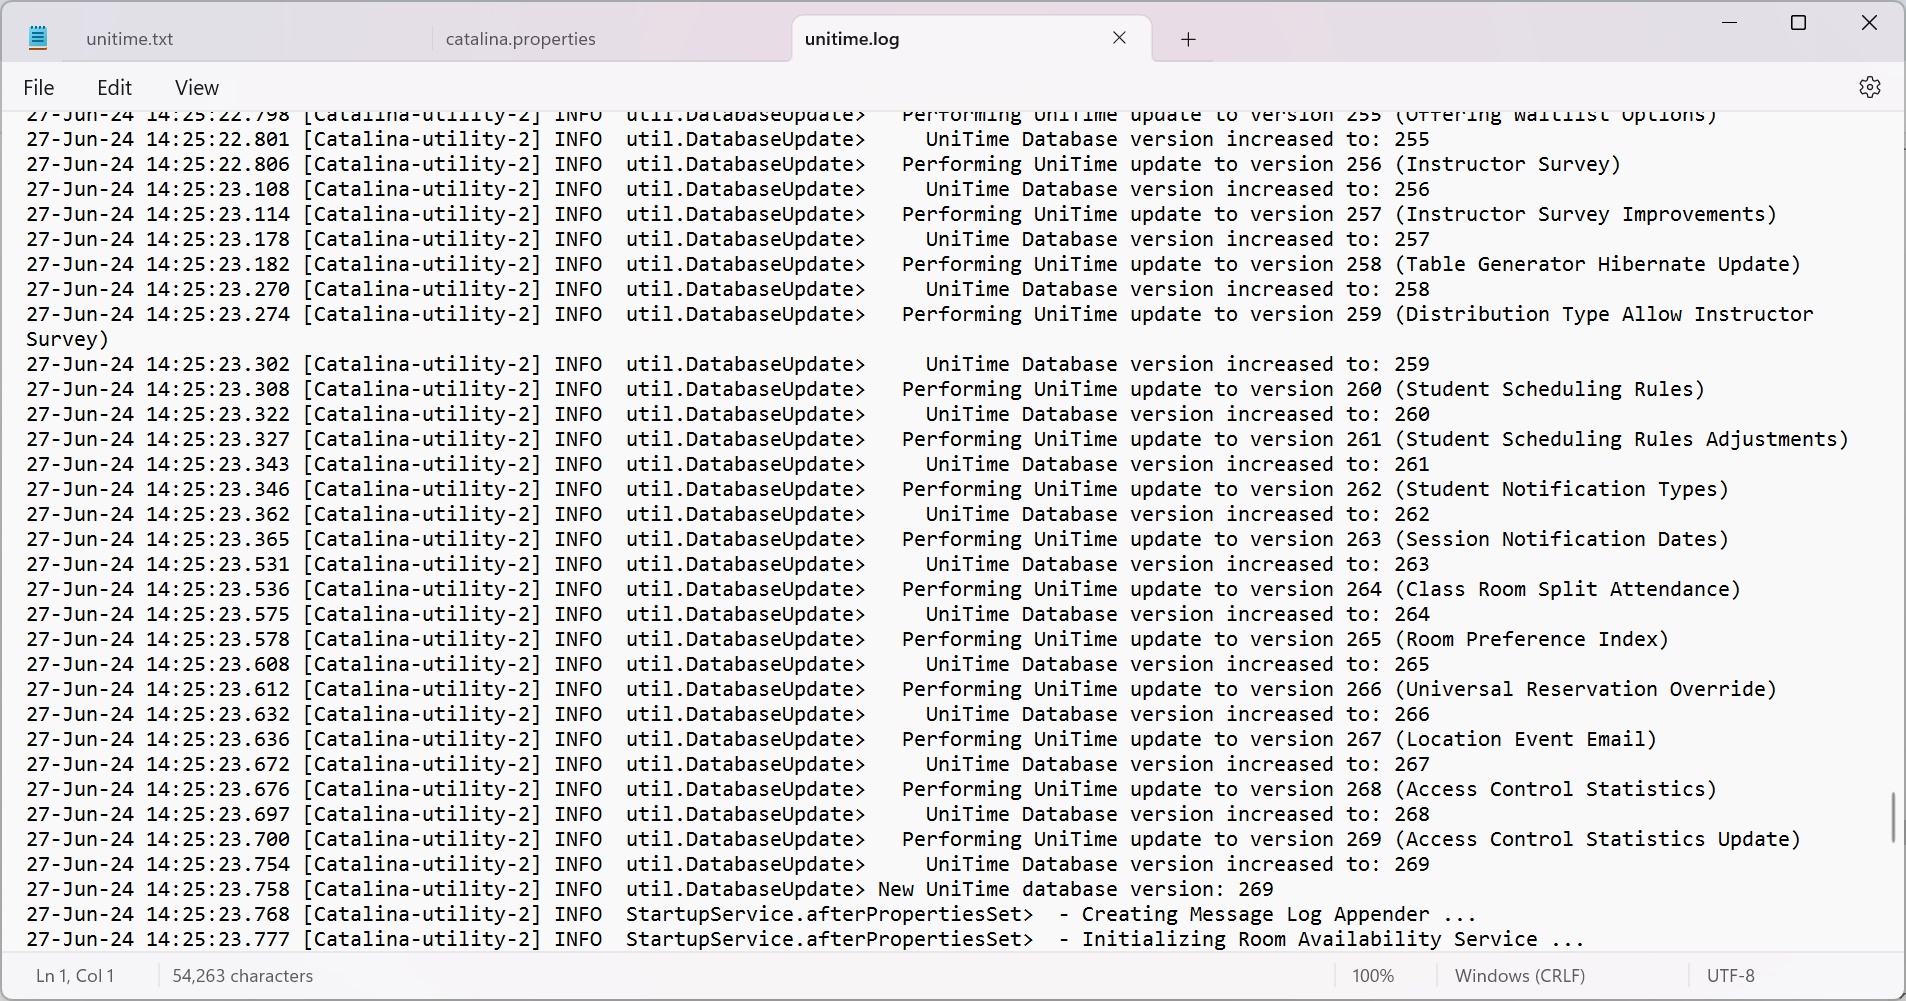
All the UniTime related messages should be placed in the unitime.log, but other files (especially the catalina.<DATE>.log, tomcat9-stderr.<DATE>.log, and tomcat9-stdout.<DATE>.log) may contain useful information. If everything started as it should, there should be the following messages in the unitime.log file (abbreviated):
| Back to UniTime Online Documentation | © UniTime 2024 | Content available under GNU Free Documentation License 1.3 |